
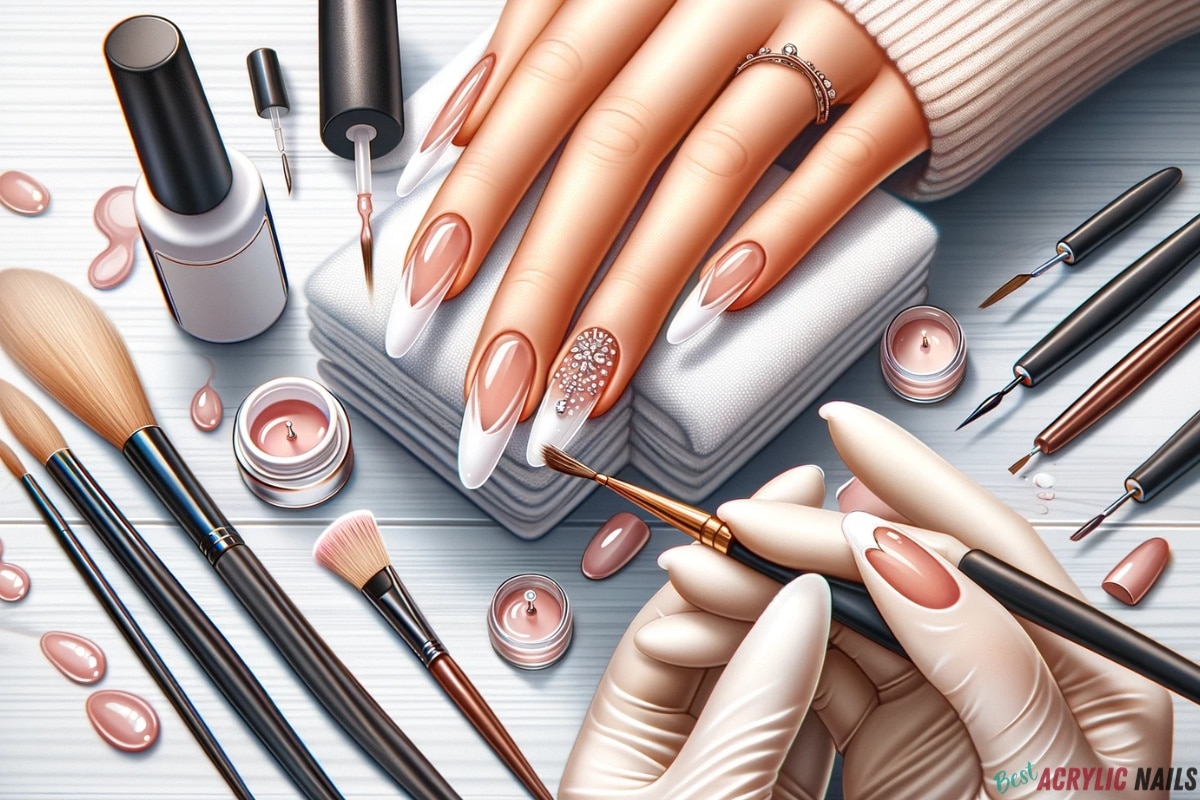
Hey there, fellow nail enthusiasts! Are you ready to add some pizzazz to your acrylics? Gel polish is the pixie dust that can transform your sturdy acrylic nails into a mesmerising masterpiece.
Now, before you raise an eyebrow wondering if gel polish and acrylic nails go together like peanut butter and jelly—yes, they do, and how!
Gel polish on acrylic nails isn’t just a beauty trend; it’s the ultimate duo for durability and shine. But hold your horses, it’s not just about slapping on some gel and calling it a day. There’s an art to it!.
Acrylic nails are like the trusty sidekick, providing a strong, sculpted canvas for your nail artistry. Gel polish? That’s the superhero, providing the glossy, long-lasting colour that can withstand the rigours of daily life.
While combining gel polish with acrylic nails offers a one-two punch of strength and beauty, it’s not all roses and sunshine. There’s a bit of prep and care involved to ensure your nails don’t end up like a villain’s plot—full of cracks and peels.
In this guide, I’ll walk you through the entire process—prepping your acrylic shields for battle, painting them with the gel of your dreams, and even waving goodbye to the colour once you’re ready for a change—all while keeping your nails happy and healthy. So, roll up your sleeves (or just flutter your fingers), and let’s get those nails looking fabulous!
A. How to Prepare Your Acrylic Nails for Gel Polish
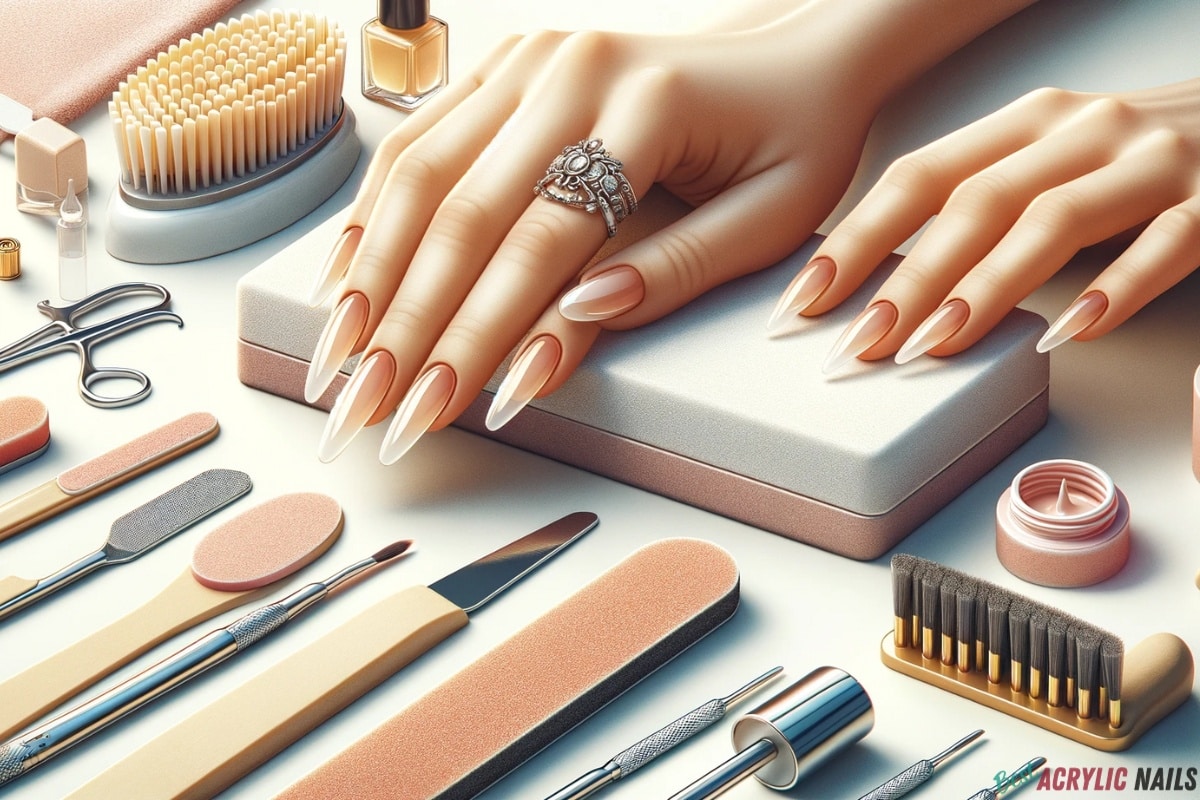
If you’re like me, you know that a solid start is key to any masterpiece. Think of it like priming a canvas before unleashing your inner Van Gogh.
So, why is prepping your acrylic nails so crucial? Simple! It’s the secret sauce to a flawless, long-lasting gel polish application. It’s not just about making the gel stick; it’s about creating a bond that says, “We’re in it for the long haul, baby!”
Step-by-Step Prep Work:
- The Great Clean-Up: First things first, wash your hands like you’re about to meet your idol—thoroughly. A clean canvas is a happy canvas. Use a nail brush or a lint-free cotton pad soaked in alcohol to banish any oils or grime from your nails. We’re going for squeaky clean, not just a once-over!
- Shape it Up: Grab your nail file—your wand of choice—and gently shape those acrylics. Whether you’re a fan of the classic oval or daring stiletto, file away to get your desired length and shape. Remember, gentle strokes; we’re sculpting a masterpiece, not chiseling a rock.
- Buff it Down: This is where you take the stage to remove any shine. A soft buffer is your best friend here. Buff the surface of your nails with the grace of a ballerina to create a surface that the gel base coat would cling to like a love-struck Romeo.
- Base Coat Ballet: Glide on a thin layer of gel base coat with the precision of a painter. Avoid flooding the cuticles—it’s a nail, not a pool party. Cure it under a UV lamp for not a second less or more than 30. It’s a quick dance in the light, ensuring the base coat and your nail have a bond that even super glue would envy.
Tips to Nail the Prep:
- Nail Brush or Cotton Pad? Both can be your allies. A nail brush gets right into the nooks, while a cotton pad soaked in alcohol can make those nails pristine.
- The Right File: A fine-grit emery board is the way to go. It’s like using a feather instead of a stick to tickle—gentle yet effective.
- Buff, Don’t Scuff: Lightly does it. Over-buffing is like over-salting your fries—ruins the experience. Aim for a matte look, not a battle-scarred war zone.
- Thin is In: When applying the base coat, think “less is more.” A thin, even layer is your golden ticket to a smooth finish.
- Time it Right: Use a timer to avoid under or over-curing. It’s the difference between a perfect bake and a culinary disaster.
And there you have it! Proper preparation isn’t just about dotting the i’s and crossing the t’s—it’s the foundation of your nail’s health and the longevity of your gel polish. So take your time, enjoy the process, and get ready to flaunt those nails like they’re fresh off the runway.
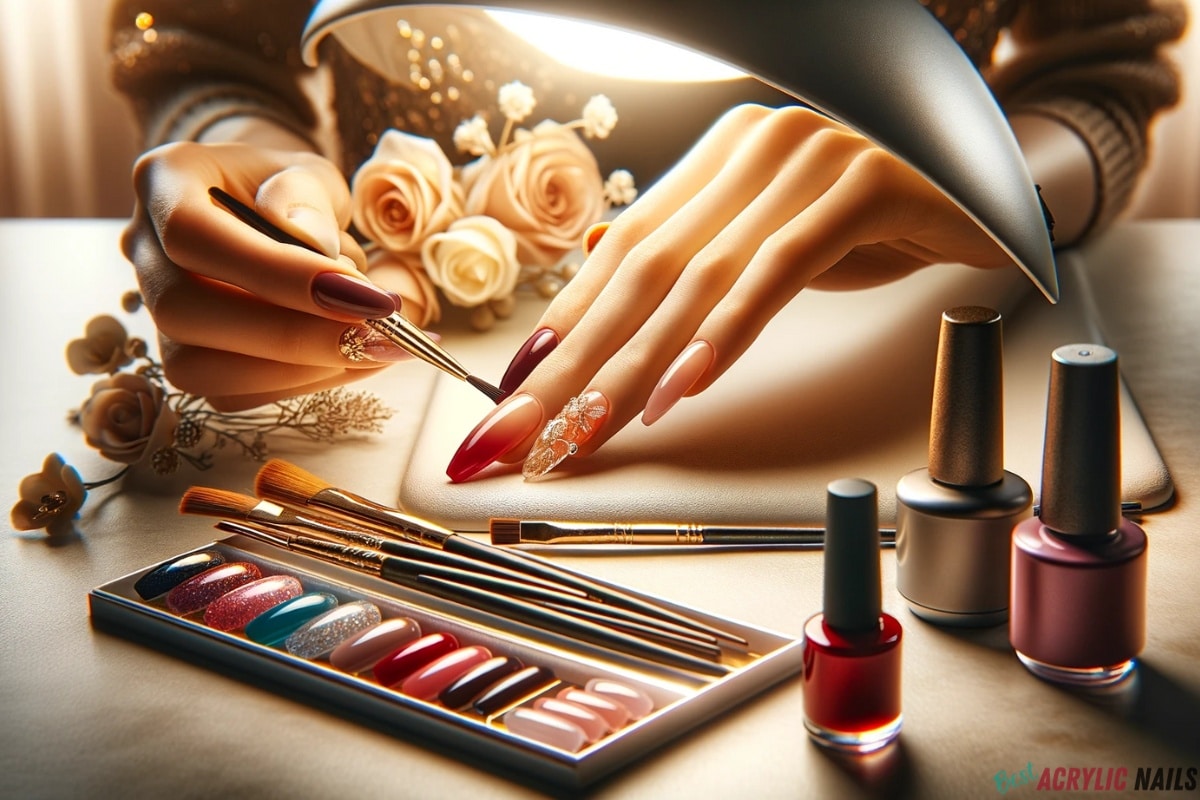
B. How to Apply Gel Polish on Acrylic Nails

Alright, you’ve prepped and primed, and now it’s showtime! Applying gel polish on acrylic nails is like dressing up for the grand ball. Every stroke counts, and precision is your ally. Let’s get those nails shining brighter than a diamond in the spotlight.
The Step-by-Step Glam-Up
- Color Selection: Pick your potion—uh, I mean gel polish color—that reflects your mood, outfit, or even your soul if you’re feeling profound. This isn’t just about aesthetics; it’s about self-expression. So whether you’re feeling a ‘Mellow Yellow’ or a ‘Ravishing Red,’ make it count.
- First Coat Application: Dip your brush into the magical gel polish bottle and apply a thin layer onto your acrylic nails. And I mean thin; we’re painting nails, not frosting a cake. Steer clear of the cuticles and skin—it’s a nail-only party. Cure it under the UV lamp, and don’t skimp on those 30 seconds. It’s the difference between a flimsy handshake and a firm grip.
- Second Verse, Same as the First: Once the first layer is as solid as your resolve on a Monday morning, go in for round two. Another thin layer of polish, another cure under the lamp. This is where you see the true color come to life, like the sun breaking through the clouds.
- Top Coat Triumph: Now, for the grand finale. The gel top coat is like the knight’s armour—it protects the beauty underneath. Apply it with the care of a jeweller setting a diamond. And then—yes, you guessed it—cure it again.
Tips for the Perfect Polish
- Steady as She Goes: Use a steady hand. If you’re as jittery as a squirrel after coffee, rest your hand on a table for that extra stability.
- Clean Up on Aisle Nail: Got polish on your skin? No panic. Dip a toothpick or a dotting tool in nail polish remover and gently clean around the edges. It’s like using a magic eraser.
- The Right Brush Matters: The brush that comes with your gel might be great, but sometimes a thinner nail art brush can give you the control of a calligrapher. Choose your weapon wisely.
- Gel Polish Remover for Oopsies: If you slip and get polish on your skin or cuticle, a gel polish remover can clean it up in a jiffy. Quick fixes are life-savers.
- Natural or Bold?: Match your gel polish with the color of your acrylics for a natural, seamless look or go bold with a contrasting shade that says, ‘Here I am!’
The Grand Reveal
After the last pass under the UV lamp, your nails are ready to take on the world—or at least the day.
Give them a gentle wipe with a cotton pad soaked in alcohol to remove any sticky residue. What you have now are nails that not only look stunning but will endure through typing, tapping, and all the high-fives.
C. How to Remove Gel Polish from Acrylic Nails
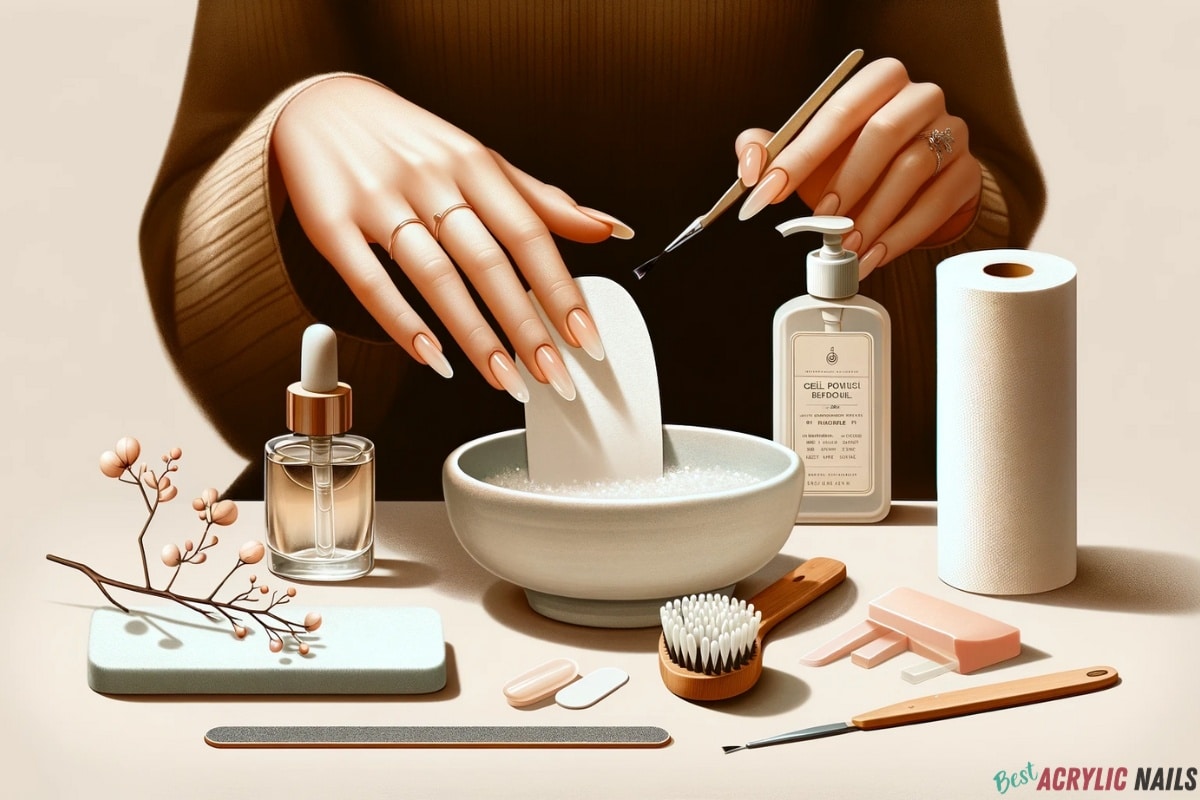
Okay, let’s face it, all good things come to an end. And sometimes, that means saying adios to your gel polish.
But fear not! You can strip away the old to make way for the new without wreaking havoc on your acrylics.
Here’s how to bid farewell to your gel polish while keeping your acrylics intact and ready for another round of glam.
The Removal Ritual
- File with Finesse: Start by taking a nail file to the top coat. You’re not sanding down a piece of furniture, so keep it light. Just file enough to remove that shiny seal, like scratching off a lottery ticket to see if you’ve won the jackpot.
- Wrap it Up: Next, soak a cotton ball with an acetone-free nail polish remover—because acetone and acrylic are like oil and water, they don’t mix. Then, place it on your nail and wrap it up with a piece of aluminium foil. Think of it as a little nail spa—your nail is just chilling in a remover bath.
- The Waiting Game: Patience is key. Give it about 10 to 15 minutes. Use this time to meditate, watch a show, or contemplate the meaning of life.
- The Gentle Slide: Once the time’s up, your gel polish should be ready to slide off like butter on a hot pan. Use a wooden stick or cuticle pusher and gently nudge the polish away. It’s about finesse, not force.
Tips for a Smooth Send-Off
- Coarse Files for the Win: A coarser file can be more effective in breaking through the top coat—just don’t get too carried away.
- Soak and Save: If you have more than one nail to do, soak the cotton balls in advance. It’s like meal prepping but for your nails.
- Aluminium Foil Squares: Cut the foil into squares beforehand. It’s a bit of prep work that goes a long way.
- Heat Things Up: A warm towel or heating pad can accelerate the soaking process. It’s like giving your nails a cosy blanket.
- Push, Don’t Shove: Gentle does it when removing the polish. If it’s being stubborn, another round of soaking might be better than a full-on assault.
Post-Removal Care
After you’ve successfully removed the gel polish, your acrylics might look a bit dull and feel like they’ve been through a battle. Buff them gently to bring back the shine. Then, pamper your nails and cuticles with some oil or moisturiser. They deserve it after all that work.
D. Safety Concerns, Health Considerations, and Best Practices
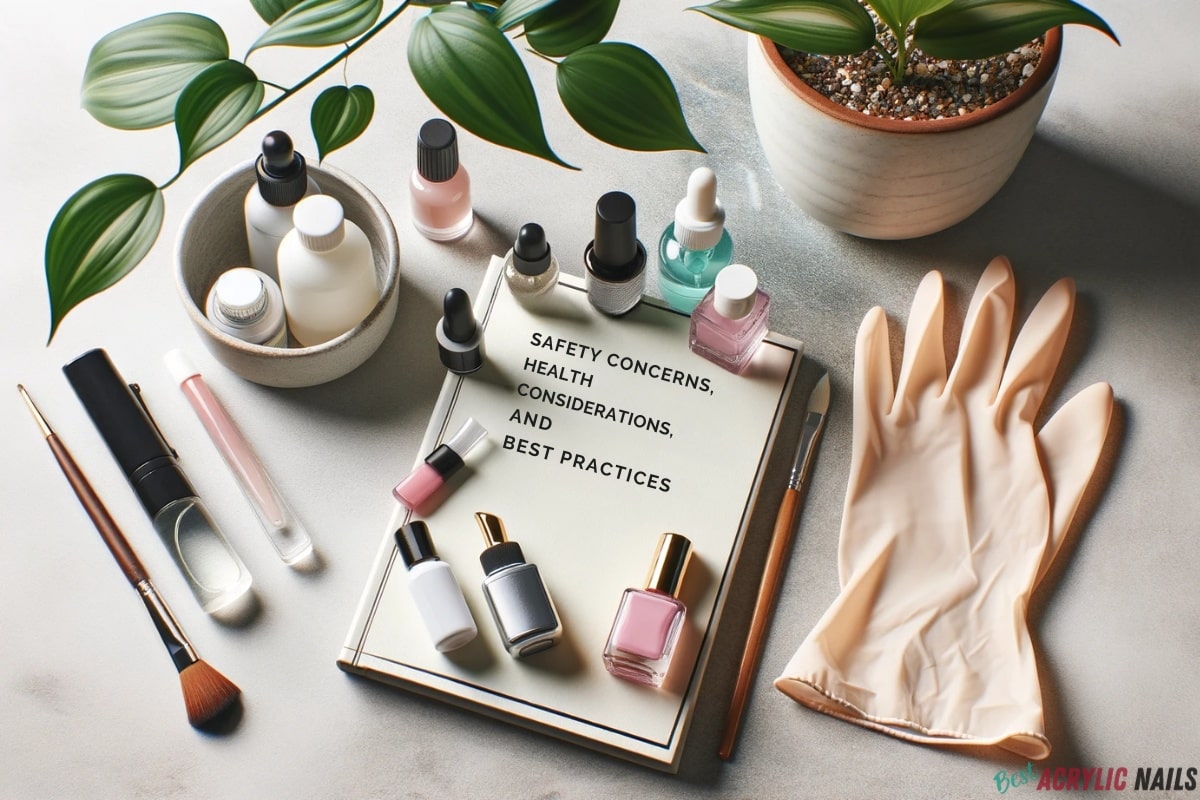
When it comes to jazzing up your acrylics with some gel polish, it’s not just about the sparkle and shine. There’s a serious side to nail beauty that we need to chat about. Keeping your nails healthy is like tending to a garden—it requires care, attention, and a bit of know-how.
Safety Concerns
First off, let’s tackle the biggie: safety. While gel polish on acrylic nails is generally safe, it’s a bit like cooking—you’ve got to follow the recipe to avoid a kitchen disaster. Using a gentle, acetone-free remover is crucial because acetone is the nemesis of acrylic nails. It can cause lifting, brittleness, and can even turn your nail spa day into a horror story.
And here’s a pro tip: beware of the uninvited guest—fungal infections. These party crashers can sneak in if your nail tools aren’t sterilised or if the acrylics are applied over damp nails. So keep everything clean and dry, just like you would with your favourite pair of shoes.
Health Considerations
Now, onto the health bits. Slapping on acrylics and gel polish is more than a cosmetic caper; it’s a commitment to your nail’s well-being. Each type of nail treatment interacts with your natural nails differently, and it’s a dance that should be choreographed by a professional. Some gels and acrylics might be a bit too eager and can weaken your natural nails if they’re not applied or removed with a gentle hand.
Always listen to your nails—they’re like pets that can’t speak but will show you when they’re not happy. If they’re feeling weak, brittle, or if you spot any discoloration, give them a break from the gel and acrylic routine. They’ll thank you with a healthy wag… I mean, wave.
Best Practices
To keep your nail game strong and healthy, here are some golden rules:
- UV Protection: Those UV lamps used to cure gel polish are like mini sunbeds for your nails. But just like you wouldn’t bask in the sun without sunscreen, don’t expose your hands to UV light unprotected. Slip on some UV-absorbing gloves that only expose your nails, or apply a broad-spectrum sunscreen to your hands.
- Quality Check: Not all gel polishes are created equal. Some are the nail equivalent of a luxury spa, while others are like a dodgy back-alley joint. Invest in quality products that are kind to your nails. It’s like choosing a good quality chocolate—your nails can taste the difference.
- Tools of the Trade: Keep your tools as clean as your Sunday best. Sterilize your nail files, buffers, and brushes to keep those pesky bacteria at bay.
- Take Time to Tend: After you remove your gel polish, don’t jump straight back into another set. Let your nails breathe a little. It’s like after a good workout; your muscles need a rest day.
- Nail Nutrition: Just like you feed your body with good food, feed your nails with nourishing oils and moisturizers. They eat it up and come back stronger.
E. Expert tips for gel polish on acrylic nails
E.1. Advanced Techniques

Once you’ve mastered the basics of applying gel polish to acrylic nails, it’s time to dip your brushes into the thrilling possibilities of advanced nail art. These techniques are your ticket to creating nail designs that are a cut above the standard single-color application.
1. Ombre Nails
The ombre effect—where colors melt into each other like a sunset—is a showstopper. To achieve this gradient dream, you’ll need a sponge and at least two gel polish colors that blend well together. Start with your lightest color as the base, and after curing, dab the sponge with your chosen colors slightly overlapping each other. Gently press onto the nail, cure again, and voilà! Finish with a top coat to seal in your masterpiece.
2. Marbling Magic
Marbling is like swirling different colors of the galaxy onto your nails. You can use a dotting tool or a fine brush to dot different colored gels on your nail. Then, with a clean brush or a toothpick, swirl the colors together in a free form pattern before curing. Remember, each nail is a unique piece of abstract art, so let your creativity flow!
3. 3D Designs
For the brave and steady-handed, 3D designs can elevate your nail art to sculpture status. Using a combination of colored gels and builder gels, you can create raised patterns, flowers, or even gems on your nails. Cure in layers to build up the design, and make sure to keep each layer thin to maintain control and precision.
4. Foil Accents
Foil can add a metallic or holographic effect that catches the light and eyes. Apply a layer of gel polish and while it’s still tacky, press a piece of foil onto the nail. Peel it away, and the foil should stick to the tacky layer, leaving behind a stunning design. Cure it and then seal with a top coat to lock in the shine.
5. Matte Finishes
For a modern twist, turn your glossy finish matte. After your final color layer, apply a matte top coat instead of a glossy one and cure. The result is a velvety, sophisticated finish that’s both trendy and timeless.
6. Incorporating Nail Art Accessories
Unleash the full potential of your nail art kit by incorporating studs, rhinestones, and stickers. After applying your color coats but before the top coat, place these accessories on the nail using tweezers for precision. Then, seal everything with a top coat and cure for a design that’s not just painted but truly crafted.
E.2. Troubleshooting Common Issues
Even the best of us run into a snag or two when working with gel polish on acrylic nails. But don’t fret; with a few tricks up your sleeve, you’ll be able to tackle these issues like a seasoned nail whisperer.
1. Lifting and Peeling
If your gel polish acts like it’s trying to escape your nails, it might be a sign of lifting. This usually happens when the nail hasn’t been prepped properly. If there’s any moisture, oil, or residue, your gel polish will lift faster than a hot air balloon. Make sure your nails are super clean and dehydrated before you start the application. If lifting does occur, gently file down the lifted area and reapply a thin layer of polish.
2. Bubbling
Bubbles in your gel polish are as unwelcome as uninvited guests. They often appear when you shake your gel polish bottle like a maraca, introducing air into the product. Instead, roll the bottle between your hands to mix the polish. If you get bubbles during application, pop them with a pin before curing.
3. Chipping
Chips can occur if the edge of the nail wasn’t sealed properly. When applying polish, be sure to cap the free edge of the nail—that means running the brush along the nail tip. If a chip does appear, file the edge smooth, and apply a thin layer of polish to repair it.
4. Allergic Reactions
Sometimes, your skin might react to the chemicals in gel polish. If you notice any redness, itching, or swelling, it’s best to remove the polish and give your nails a rest. Always ensure you’re not getting polish on your skin and use a high-quality product to minimize the risk of reactions.
5. Imperfect Curing
Undercured polish will be weak and overcured polish can become brittle. To avoid this, make sure you’re using the right type of lamp (UV or LED, depending on the gel polish formula) and curing for the recommended amount of time. Check the wattage of your lamp—it might not be powerful enough to cure properly.
6. Discoloration
Gel polish can become discolored when exposed to strong chemicals, like cleaning products, or if you’re a heavy smoker. Always wear gloves when cleaning or doing anything that might stain your nails. If your nails do discolor, a fresh coat of polish is your best friend.
7. Nail Damage
Acrylic and gel polishes can be tough on your nails. To prevent damage, always remove the polish gently and give your nails a break between applications. Use cuticle oil and hand cream regularly to keep your nails and skin nourished.
G. Conclusion
And there you have it—a complete guide that walks you through every step of your gel polish on acrylic nails journey. From the initial prep work to advanced techniques and solving pesky problems, you’re now equipped with the know-how to keep your nails looking their glamorous best. Remember, the secret to a perfect manicure lies in the care you take at each step, the quality of the products you use, and the love you show your nails after the polish is applied.
So, go ahead, show off those fabulous fingers, and when you’re ready for a change, come back to this guide for a seamless transition to your next nail adventure. Whether you’re a DIY diva or a salon regular, your nails are a reflection of your personality, so let them shine! And if you’ve got any tips, tricks, or nail tales of your own, don’t keep them under your hat—share them in the comments and let’s keep the conversation going. Happy polishing!
H. FAQs
- Can I apply gel polish directly on my acrylic nails? Yes, you can apply gel polish directly onto acrylic nails. It’s essential to first prepare your acrylic nails by cleaning, filing, and buffing them to ensure the gel polish adheres correctly and lasts longer.
- How long does gel polish last on acrylic nails? Gel polish on acrylic nails typically lasts about 2-3 weeks, depending on factors like the quality of the polish, application technique, and daily activities that could cause wear and tear.
- Will gel polish damage my acrylic nails? Generally, gel polish doesn’t damage acrylic nails if applied and removed correctly. Using an acetone-free remover and avoiding harsh filing can help maintain the integrity of your acrylic nails.
- Can I remove gel polish from acrylic nails at home, and how? Yes, you can remove gel polish from acrylic nails at home. Use an acetone-free remover, soak a cotton ball in it, place it on the nail, wrap with foil, and after about 10-15 minutes, gently push off the polish.
- Why is my gel polish lifting from my acrylic nails? Lifting can occur due to inadequate nail preparation, moisture on the nails, or applying the polish too thickly. Ensuring nails are clean, dry, and properly buffed before application can prevent lifting.
- Is it safe to use a UV lamp for curing gel polish on acrylic nails? Using a UV lamp is generally safe if done correctly. However, it’s advisable to use UV-protective gloves or apply sunscreen to your hands to protect your skin from prolonged UV exposure.
- How can I achieve a smooth finish with gel polish on my acrylic nails? For a smooth finish, apply thin, even layers of gel polish and cure each layer under a UV lamp. Ensure the polish doesn’t touch the cuticles and use a high-quality brush for precise application.
- What should I do if I get an allergic reaction to gel polish on my acrylic nails? If you experience an allergic reaction, remove the gel polish using an acetone-free remover and avoid gel polish application until the reaction subsides. Consult a dermatologist if symptoms persist.
- Can I use regular nail polish on acrylic nails instead of gel polish? Yes, you can use regular nail polish on acrylic nails. However, regular polish doesn’t last as long as gel polish and doesn’t require curing under a UV lamp.
- How often should I take a break from gel polish on my acrylic nails? It’s advisable to take a break from gel polish every 3-4 months to allow your natural nails to breathe and recover. During this period, nourish your nails with cuticle oils and nail strengtheners.