Acrylic nails – they’re the canvas for our wildest nail art dreams, aren’t they? A swipe of vibrant polish, a sprinkle of glitter, and voilà, you’ve got yourself a miniature masterpiece at your fingertips.
But let’s face it, sometimes they’re like high heels – stunning to look at but not the most practical when you’re trying to type an essay or pull on your skinny jeans.
Now, here’s the key question: Can you cut acrylic nails at home? The answer’s a resounding ‘yes,’ but with a few words of caution taped to the scissors. This article isn’t just about snipping your tips; it’s a full-blown guide on doing it safely and effectively, dodging the pitfalls of cracking or, damaging your natural nails.
I’ll walk you through the whole shebang – from why you might want to give your claws a trim, to the step-by-step of cutting them down to size, right at home, no salon visit needed. So, buckle up, and let’s dive into the world of acrylics, where the only thing sharper than your nails will be your nail-care skills.
Why You Might Want to Cut Your Acrylic Nails
Let’s talk about why you might want to cut your acrylic nails, because, let’s face it, we’ve all been there. You step out of the nail salon, your nails looking like a million bucks. Fast forward a week, and those same nails are more like frenemies – gorgeous but getting in the way of, well, life.
1. The Too-Long Tango

First off, there’s the ‘oops, too long’ realization. Maybe you were feeling bold when you chose that length, but now texting feels like a finger workout, and typing an email is like a game of Twister. Or perhaps those long beauties are now scratching more than just your itch for fancy nails – they’re scratching your actual skin. Ouch.
2. The Daily Hustle Hassle
Then there’s the daily hustle. If you’re fumbling keys more than a locksmith or you’re suddenly all thumbs on your smartphone, it’s a sign. Your acrylics are cramping your style, and not in a good way. Daily tasks like buttoning a shirt become an epic saga where your nails are the villain, and let’s not even get into the adventure of contact lens application.
3. Chip and Dip
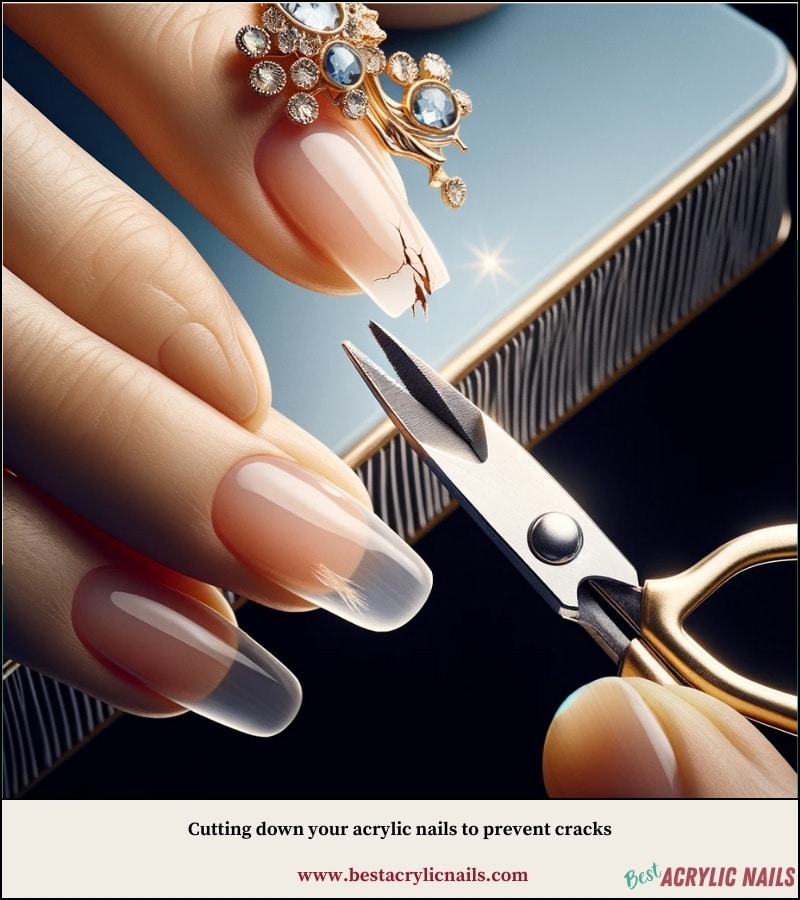
Sometimes, it’s a rescue mission. A chip, a crack, or a split can turn your fabulous fingers into a distress signal. Cutting down your acrylic nails can be like damage control, stopping the crack before it claims more of your nail territory.
4. Shape Shifter’s Desire
Maybe you’re just after a new look. Trends change, moods shift, and sometimes you want your nails to reflect that. Going from bold coffin nails to a subtle almond shape doesn’t always need a full do-over. Sometimes, a quick trim is all it takes to match your nails with your current vibe.
5. Home Sweet Home Salon

Now, why go DIY with the snipping? It’s simple – time and money. Running to the nail salon every time you need a tweak is like hitting up a gourmet bakery every time you crave toast. But, and it’s a big but, if you’re not careful, you can end up with a hack job that leaves your nails looking like they’ve been chewed by a beaver.
6. The Alternatives: File, Replace, or Professional Grace
There are safer routes if the thought of cutting your acrylics gives you the heebie-jeebies. Filing them down is like the gentle whisper compared to the cutting shout. It’s slower, sure, but it gives you control.
Then there’s the total do-over – stripping off the old set and laying down a fresh one. Or, if you’re not up for the challenge, a trip to the pros can be your saving grace. A nail technician’s skilled hands can work wonders without a whisper of risk to your natural nails.
So, before you decide to play salon at home, weigh your options. If you’re a daredevil with steady hands, cutting your acrylic nails at home might be your next adventure. If not, there’s no shame in the filing game or in letting the salon take the wheel.
How to Cut Your Acrylic Nails at Home: A Step-by-Step Guide
Trimming your acrylic nails doesn’t have to be as daunting as it sounds. With the right tools and a steady hand, you can have salon-fresh nails without ever leaving your home. So, let’s get down to business.
Step 1: Determine Your Desired Length
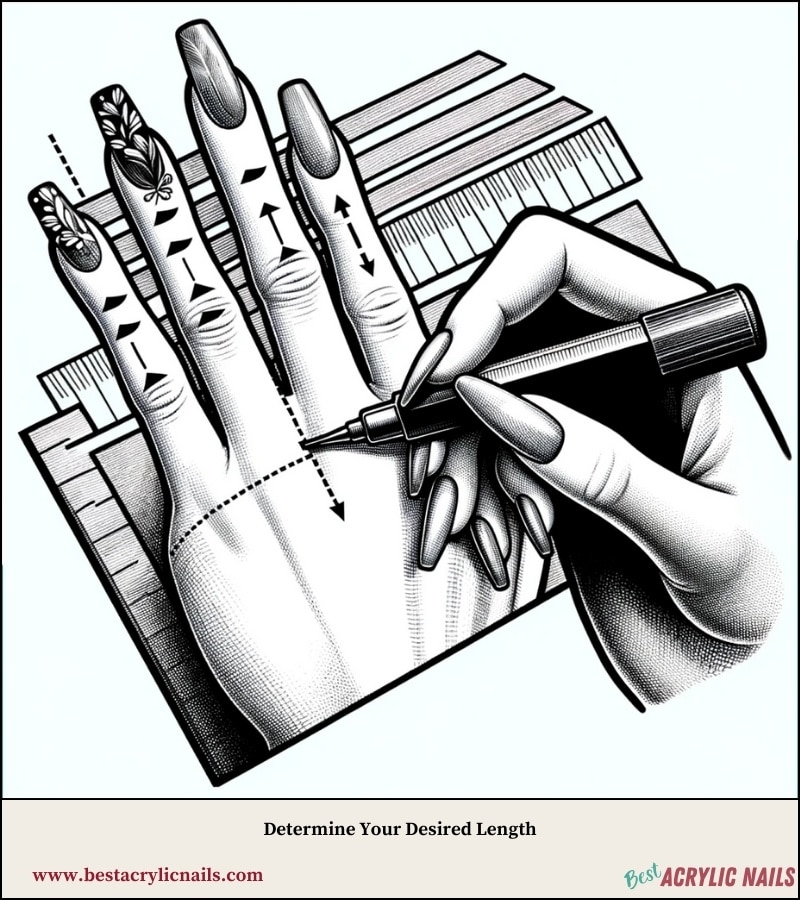
First things first, envision how you’d like your nails to look. It’s all about the length. Grab a marker or a piece of tape to mark the exact location on the nail where you’d like to cut.
Remember, it’s like cutting bangs – start longer because you can always go shorter, but there’s no gluing them back on if you snip too much. Don’t get too close to the natural nail; give yourself some acrylic to work with. After all, it’s a trim, not a nail amputation.
Step 2: Gear Up with the Right Tools
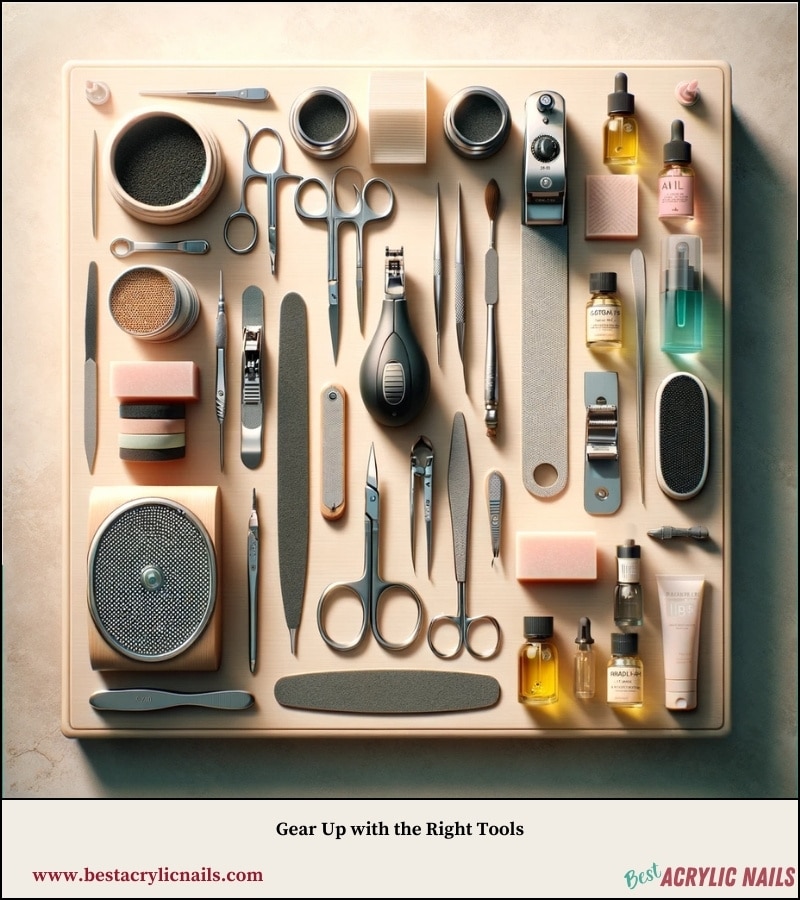
Now, onto the tools. You’ll need:
- Sharp Nail Clippers or Scissors: Regular nail clippers might do the trick, but if your acrylics are as tough as a week-old baguette, opt for toenail clippers or specially designed acrylic nail scissors.
- Nail File or Motorized Nail Grinder: These are for the fine-tuning. A good file will help smooth out any rough edges post-cut.
- Nail Buffer or Polishing Block: To get that seamless, salon-quality finish, buffing is key.
- Cuticle Oil or Moisturizer: Never underestimate the power of hydration post-trim. Your nails will thank you.
Each tool has its place in this nail symphony, so make sure they’re clean and ready to go.
Step 3: The Cutting
With your nail marked, take your nail clippers or scissors and position them at the edge of the mark furthest from the center of your hand. Then, with a firm yet gentle pressure, cut towards the middle of the nail.
This outside-in approach helps prevent splintering and cracking, which can happen if you cut from the center outwards. Think of it as cutting a piece of tough fabric; you wouldn’t start in the middle, right?
Step 4: Mirror the Cut
After the first cut, it’s time to replicate that on the other side of the nail. Again, start from the outer edge and meet the first cut in the middle. This ensures a clean line and helps maintain the strength of the remaining acrylic.
Be precise, take your time, and after each snip, check the result. If it’s uneven or too long, you can always go back and correct it. Remember, slow and steady wins the race, especially when that race is against a nail catastrophe.
Step 5: Bid Farewell to the Tip
Once you’ve made your cuts and have two meeting points in the center, it’s time to part ways with the tip of the acrylic nail. Gently wiggle or bend the cut portion of the acrylic; it should lift away cleanly.
If it’s being stubborn, resist the urge to yank it off – patience is your friend here. If necessary, use your clippers to snip any bits that didn’t quite detach. Treat your nails like precious heirlooms; a little care goes a long way.
Step 6: Nail Thinning – The Art of Refinement
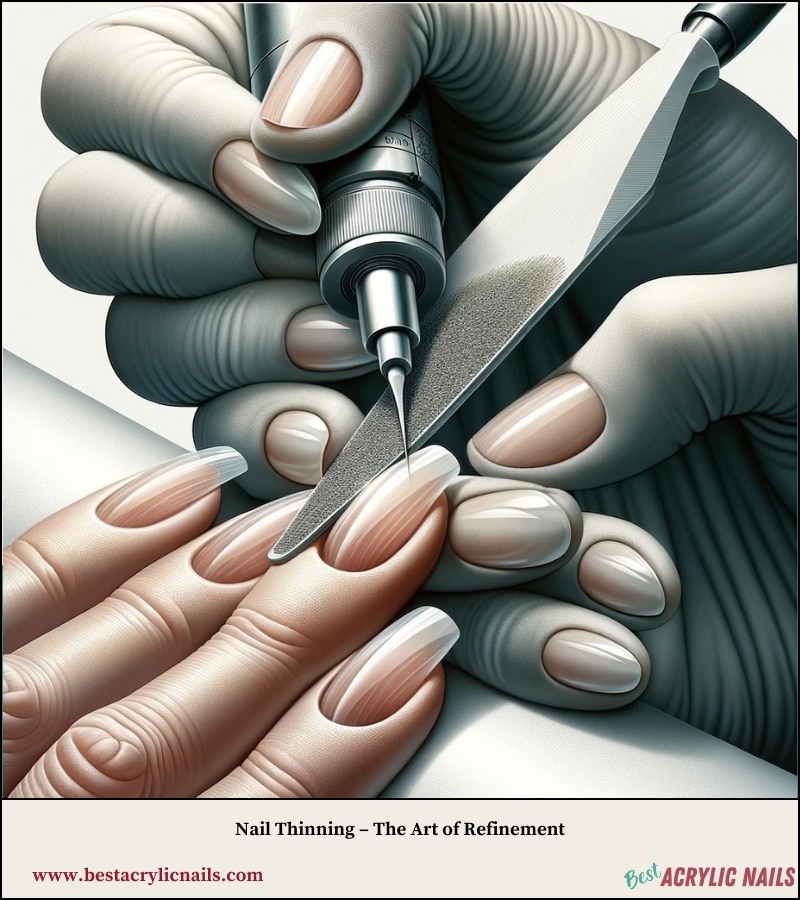
With the tip removed, your nails might feel a bit like a rough draft – presentable, but could use some polishing. That’s where thinning comes in. Grab your nail file or motorized grinder and start reducing the thickness of the acrylic, focusing on the cut edge.
Using a 100-grit file can make short work of the bulk, but remember, always file in one direction. Sawing back and forth is a big no-no; it can heat up and damage both the acrylic and the natural nail underneath.
Step 7: Smooth Sailing with Buffing
Now that your nails are the right length and thickness, it’s time to make them smooth. Take your nail buffer or polishing block and gently work out any rough edges or bumps. The aim is to make the transition from acrylic to natural nail as seamless as possible.
If you’re shaping your nails, consider the length and your daily routine. Choose a shape that complements your style, whether it’s the functional elegance of an oval or the bold statement of a coffin shape.
Step 8: Moisturize and Rejuvenate
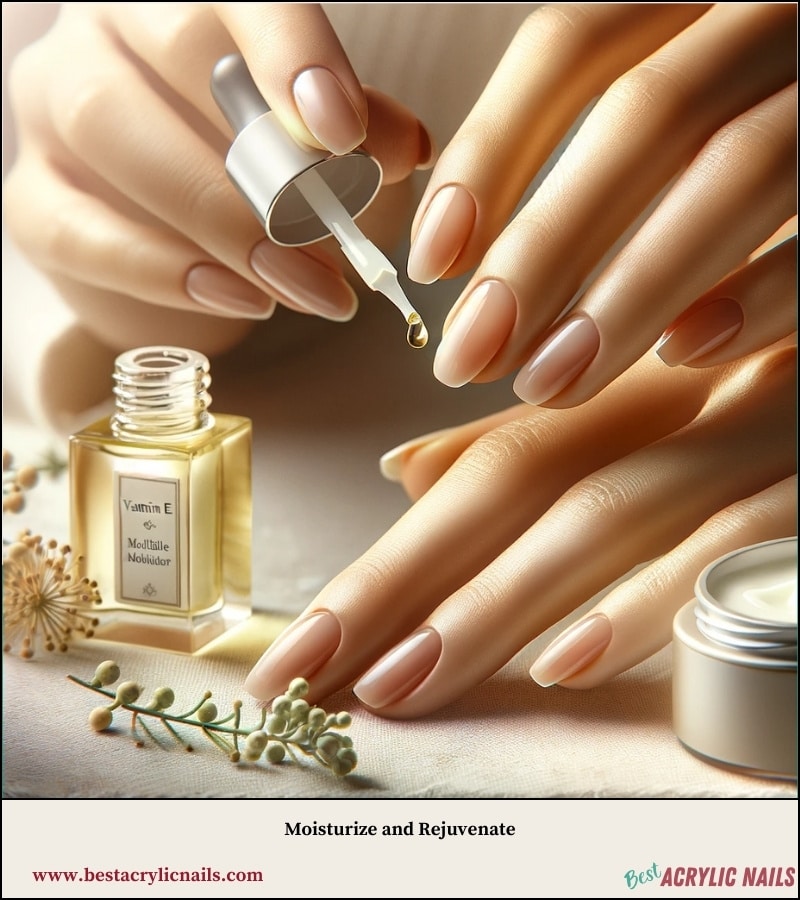
Cutting and filing can leave your nails and cuticles feeling a bit exposed, so it’s essential to hydrate. Apply a nourishing cuticle oil or moisturizer. Ingredients like Vitamin E, jojoba oil, and shea butter are like a spa treatment for your nails.
Massage the oil or moisturizer into your nails and cuticles gently. It’s not just about looking good, it’s about nail health too.
Step 9: The Grand Reveal
Voilà! You’ve successfully navigated the nail-cutting journey. Take a moment to admire your handiwork. Your nails are now ready to become a blank canvas for any new color or design you choose. Whether you’re into the understated elegance of a French manicure or the pizzazz of nail jewels, your freshly cut acrylics are the perfect starting point.
Add a fresh coat of polish, slap on some nail art, or jazz things up with some rhinestones – the world is your oyster. And don’t forget to accessorize with some bling on your fingers to really make those nails pop.
Do’s and Don’ts Cutting Your Acrylic Nails at Home

Cutting acrylic nails at home can be as easy as pie, or as tricky as a Rubik’s Cube, depending on how you approach it. But fret not! I’ve gathered some tried-and-tested tips and tricks to help you become a nail-cutting ninja, right from the comfort of your abode.
1. Set Up Your Nail Station: First off, pick a spot that’s well-lit and comfy. You’ll be doing some precise work, so you need to see clearly and feel relaxed. No one wants to play a game of ‘snip the tip’ in the shadows, right?
2. Magnify Your View: If your eyesight’s not exactly eagle-like, grab a magnifying mirror or use the zoom on your phone camera. It’ll be like having a hawk-eye view of your nails, ensuring you don’t miss a thing.
3. Protect Your Skin: Those clippers and scissors are sharp – they mean business. To avoid any oops moments, wrap your fingertips with a bit of tissue paper or don some gloves. Think of it as armor for your delicate skin.
4. Curve It Like It’s Natural: If you’re after a natural look, use clippers or scissors with a curved edge. It’ll give your nails that ‘born this way’ shape, making it look like you’ve just stepped out of a salon.
5. Soften the Situation: Here’s a nifty trick – dab a bit of nail polish remover or acetone on the acrylic to soften it before you cut. But careful, don’t overdo it, or you’ll end up with a nail meltdown.
6. Crack Down on Cracks: Got a split or crack in your acrylic? Seal the deal with a dab of nail glue or a brush of clear polish. It’s like putting a band-aid on a paper cut – it holds everything together while you work your magic.
7. Shield Your Natural Nails: Show some love to your natural nails. Before you start, apply a nail strengthener or base coat to act as a shield against the acrylic tyranny. It’s like having a bodyguard for your nails.
8. Clean Up Your Act: After you’ve snipped and shaped, you might find yourself in a dusty situation. Swipe your nails with nail polish remover or acetone to banish any residue. It’s like cleaning up after a party – the final touch to leave everything spic and span.
My Pro Tips on Sculpting, Styling, and Caring for Acrylic Nails
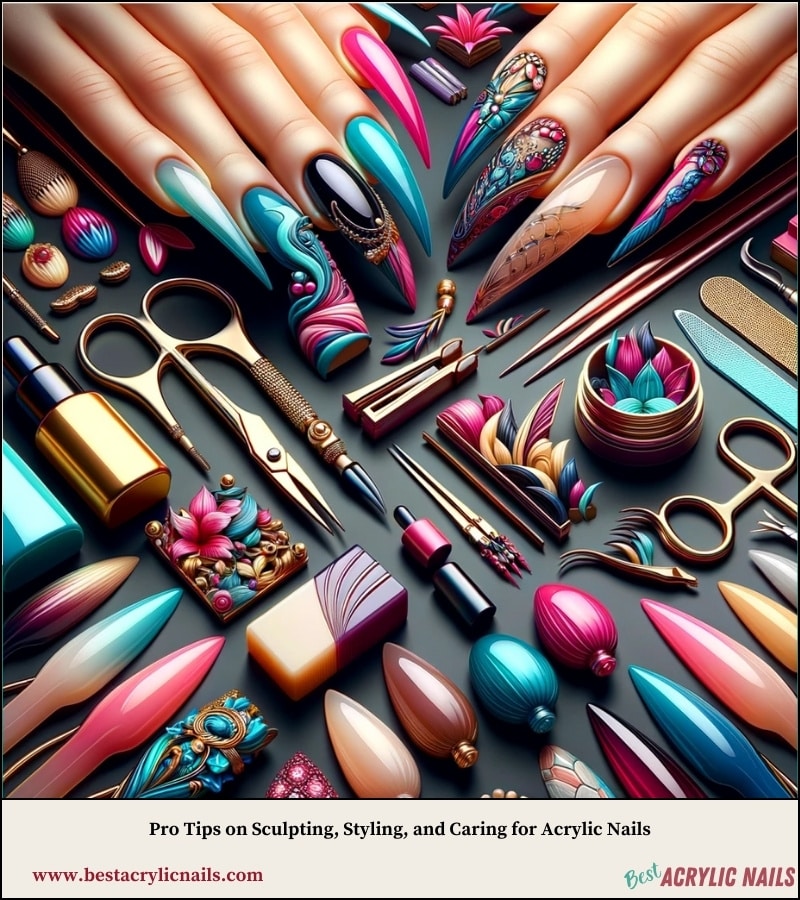
1. Sculpting the Perfect Shape: From Almond to Coffin
When it comes to cutting acrylic nails into different shapes, it’s like sculpting – each snip should be precise and purposeful. For the popular almond shape, you need to channel your inner artist. Start by trimming the sides of your nails, creating a narrow, tapered look that ends in a semi-point. Think of it as creating the gentle curves of a leaf.
For the bold and daring coffin shape, it’s all about straight lines and sharp angles. Trim the sides of your nails to be straight and narrow, leading to a flat tip. It’s like sketching a miniature skyscraper on your fingertips. Remember, the secret sauce here is patience and a steady hand. Go slow, compare both hands frequently, and use a file for those final touches.
2. Protecting Your Natural Nail: A Safety Dance
Now, let’s talk about keeping your natural nails from throwing a tantrum. When cutting acrylics, your natural nails are like delicate flowers under a summer sun – they need protection. To prevent damage, always leave a bit of acrylic overlay. This acts as a buffer between the scissors’ might and your natural nail’s fright.
And remember, no yanking or pulling – it’s a no-fly zone for rough handling. Gentle pressure, small cuts, and frequent checks are your best friends here.
3. Styling and Embellishing: The Fun Part
After the cut, it’s showtime for styling! Your nails are now a playground for creativity. Adorn them with nail art, from minimalist dots to elaborate landscapes. Choose a gel polish that sings to your soul, or go wild with some rhinestones and glitter. It’s like dressing up for a party where your nails are the guest of honor.
4. Nail Health Post-Trim: Nourishment and Care
Post-trim, your nails might feel a bit exposed, like seedlings after a prune. To keep them healthy, hydration is key. A generous helping of cuticle oil will soothe and nourish both your nails and cuticles. Think of it as a spa day for your fingers. And don’t forget regular moisturizing – it’s like giving your hands a loving hug.
5. Regular Maintenance and Professional Care: Keeping it Classy
Finally, regular maintenance is the secret to long-lasting beauty. File any rough edges weekly, and give your nails a breather between acrylic applications. It’s like letting your hair down after a tight ponytail. And when in doubt, or for a special treat, visit a professional. Their skills are like magic wands, turning your nails into a fairy tale.
Conclusion: Mastering the Art of Cutting Acrylic Nails at Home
And there you have it – a complete, no-stone-unturned guide to cutting your acrylic nails at home. Remember, the key to success is patience, the right tools, and a gentle touch. From choosing specialised acrylic nail clippers to the final flourish of gel polish, every step is important.
Always start with small cuts to avoid taking off too much length, and use the correct grit file for smoothing and shaping. Embrace the process, and don’t be afraid to tackle FAQs for any uncertainties.
By following these detailed steps and tips, you can maintain your acrylic nails with confidence and keep them looking fabulous between salon visits.
Now go forth, trim with care, and rock those stylish nails with pride!