Hey there, let’s roll up our sleeves and get down to the nitty-gritty of acrylic nail hygiene, shall we?
Imagine this: You’ve just walked out of the salon with a fresh set of acrylics, your nails looking like a million bucks, and you’re feeling on top of the world. But here’s the thing – those shiny new talons are more than just a fashion statement; they’re a commitment, a promise to your nails that you’ll keep them clean and healthy.
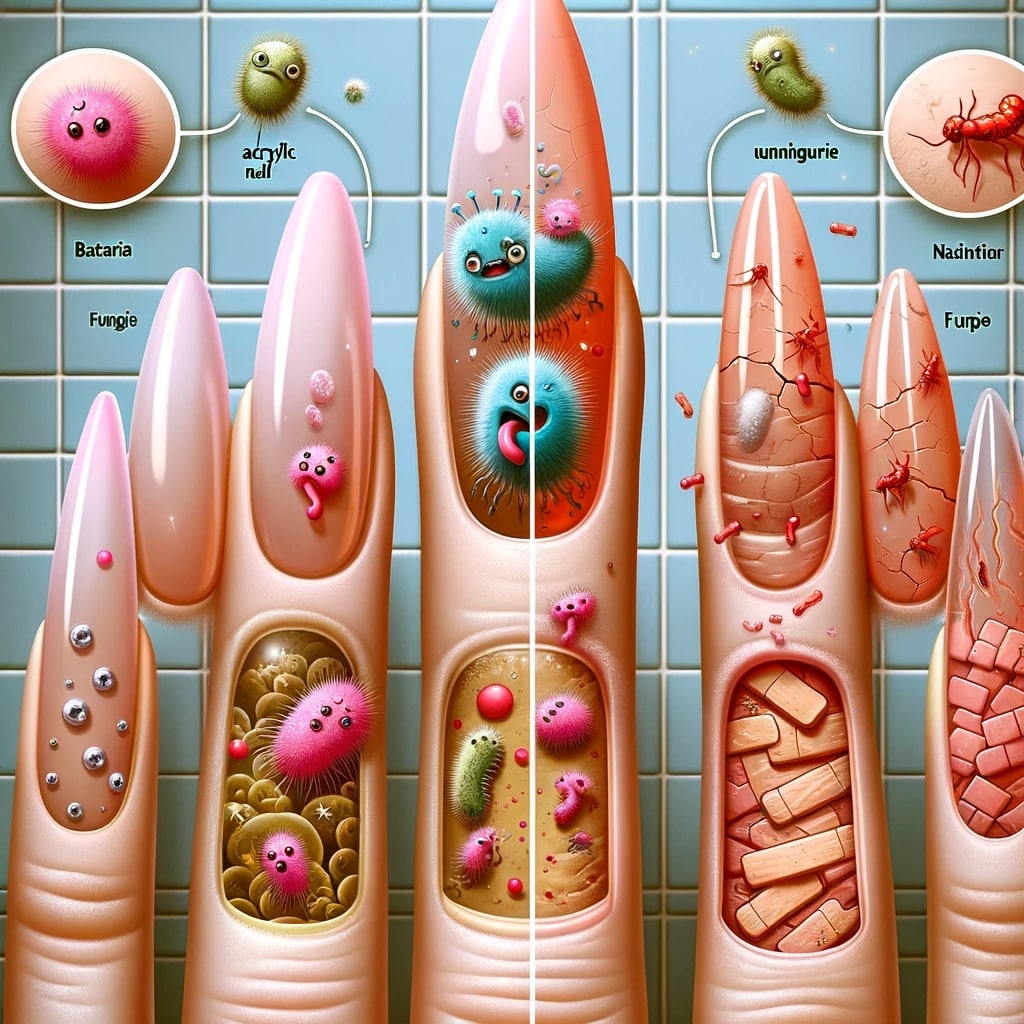
You see, acrylic nails aren’t just about glitz and glam; they’re a bit like high-maintenance pets. Sure, they look pretty, but underneath that glossy exterior, there’s a potential playground for uninvited guests – bacteria and fungus – if you don’t keep them clean.
The Centers for Disease Control and Prevention (CDC) tells us that keeping the undersides of our nails clean is paramount to avoiding some infections – and we’re not just talking about the common cold here. But when it comes to our acrylic-clad digits, the plot thickens. Acrylic nails can cause what’s known as traumatic onycholysis – fancy talk for when your nails decide to part ways with their beds, which is as painful as it sounds. Plus, they can trap more moisture, making your nails a cosy, humid home for all sorts of unwelcome microscopic squatters.
So, let’s make a pact, you and I – to keep those artificial beauties as pristine as they were when you first fluttered your fingers in admiration. We’re going to delve into the hows and whys, armed with the right tools and a sprinkle of humour, to ensure that those nails stay fabulous and infection-free.
And remember, while this might sound like a chore, it’s really just another way to pamper yourself – because you, my friend, deserve to feel good from tip to toe, or should I say, from cuticle to acrylic tip.
A. Why You Need to Clean Under Acrylic Nails
Acrylic nails can transform your hands into a canvas for stunning artistry and self-expression, but beneath the glossy facade, there’s a crucial aspect of care that can’t be overlooked—keeping the underside of your acrylics pristine. It’s not just about aesthetics; it’s about health.
1. The Hidden Hazards Beneath the Surface
The space between your natural nails and the acrylic overlay is like a mini eco-system that, if neglected, can harbour unwanted guests. Dirt and debris, those uninvited party crashers, can sneak in, bringing along bacteria and fungi, which are more than happy to set up camp.
Imagine this: your hands are constantly on the move, touching this and that, and even when you feel like a hand-washing champion, some pesky micro-invaders cling on, slipping under your acrylics where they can start a tiny rebellion against your nail health. This isn’t just a hypothetical scenario; neglecting this space can lead to real-deal infections, causing discomfort and potentially turning your nail beds into a battleground marked by redness, swelling, and pain.
2. The Domino Effect of Damage
When you first get acrylics, your natural nails are roughed up to make everything stick. This, unfortunately, is the first act of sabotage against your nail’s integrity, leaving them vulnerable. Add to that the chemicals in acrylic mixtures, which can sometimes throw a party on your skin, leading to allergic reactions like itchiness, redness, and flaky skin not just on your fingers but potentially all the way to your face and neck.
Now, let’s talk about the picking habit. It’s human nature to fiddle with anything that feels out of place, and lifting acrylics can be tempting targets. But here’s the thing: picking at your acrylics is akin to peeling away layers of your nail’s strength, leaving them weaker and whispering a silent cry for help.
3. The Vicious Cycle of Touch-Ups
Acrylics demand maintenance, and every touch-up is an encore for potential damage. As they grow out, you’ll need fills, and that can lead to even more thinning and brittleness. It’s a cycle that’s hard to break free from.
And when acrylics crack or fracture, it’s not just an ‘oops’ moment; it’s your natural nails sending an SOS as they bear the brunt of the damage, sometimes even leading to separation from the nail bed.
4. Breathe, Nails, Breathe
Continuous cycles of acrylics can smother your nails, and they need their breathing space for recovery and repair. It’s why taking breaks between sets is as important as the set itself.
B. How to Clean Under Acrylic Nails
Method 1: Sweeping Away the Dirt with “The Nail Brush”
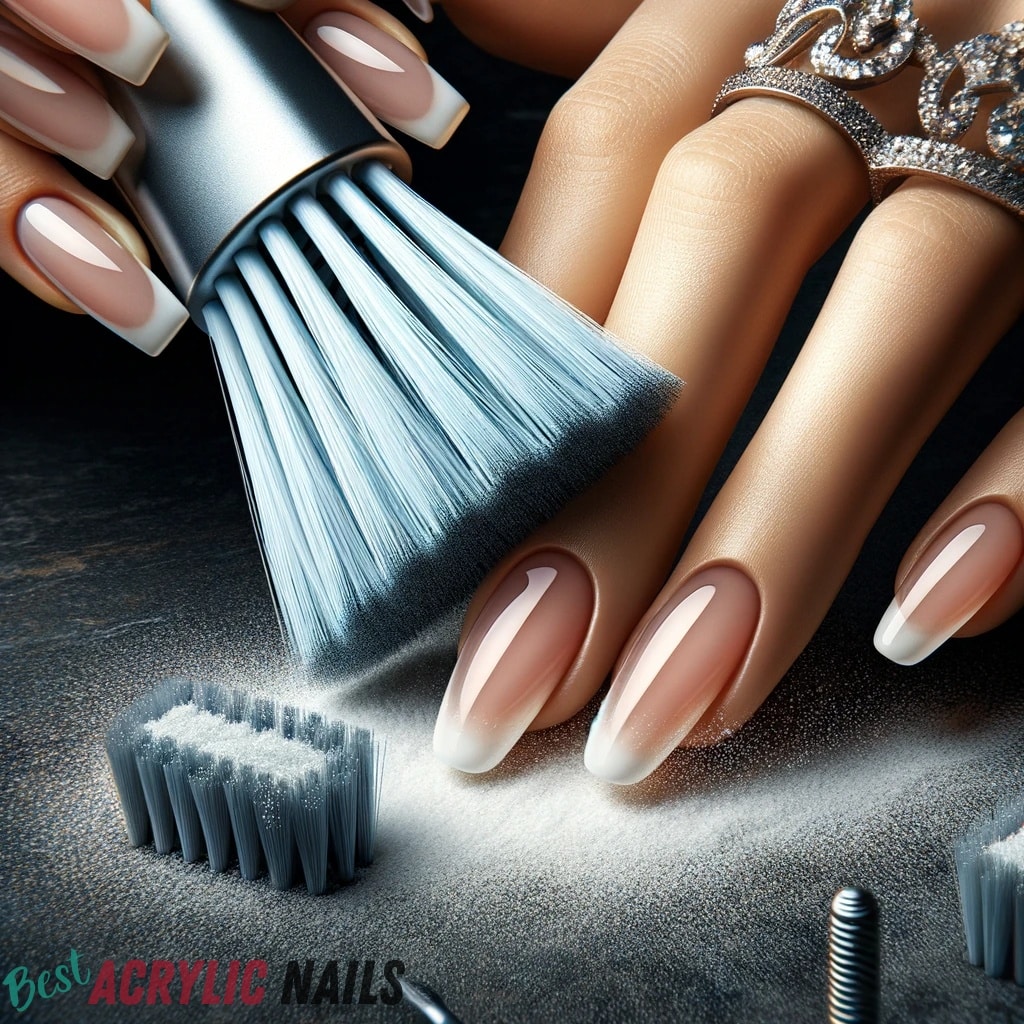
Picture this: a nail brush, your tiny, but mighty, sidekick in the quest against grime. It’s got soft bristles, perfect for a gentle yet thorough clean. Here’s the game plan:
- Begin with the basics – wash those hands with warm, soapy water. It’s like prepping for a painting; you start with a clean canvas.
- Dip your nail brush in warm soapy water. Jazz it up with a couple of drops of antibacterial soap and maybe a splash of vinegar or lemon juice for that extra microbial knockout punch.
- With the finesse of a mini maestro, brush under each nail in a back-and-forth motion. Imagine you’re conducting an orchestra, but instead of music, you’re creating cleanliness.
- Rinse and repeat, just like shampoo instructions, until the dirt waves the white flag.
- Rinse your nails, dry with a fluffy towel, and moisturise. Your hands deserve that hydration after their mini spa session.
Method 2: Pushing Back the Problems with “The Cuticle Pusher”
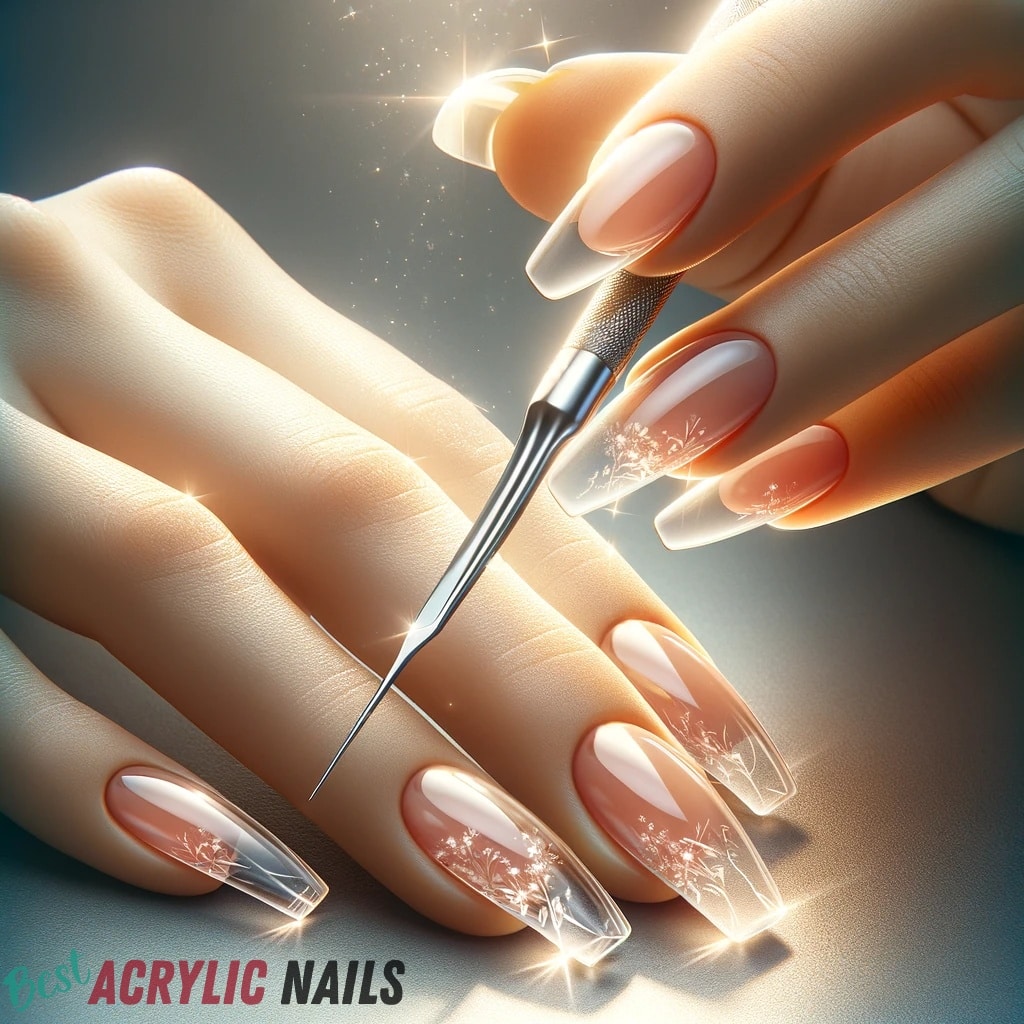
Now, if the nail brush is your sidekick, the cuticle pusher is your trusty steed, ready to charge into the tiny crevices under your nails.
- Clean your hands; you know the drill.
- Soak your nails in a warm, soapy baptismal for 10 minutes. Your cuticles will soften like butter on a hot pancake, and dirt will loosen its grip.
- Dry off, and apply some cuticle love with cream or oil.
- Gently, and I mean gently, guide the cuticle pusher under each nail. No medieval jousting here; we’re not looking to start a war.
- Clean off the battlefield with a cotton ball or tissue, salute your clean nails, and moisturise like it’s a ritual.
Method 3: The Electric Nail File Route
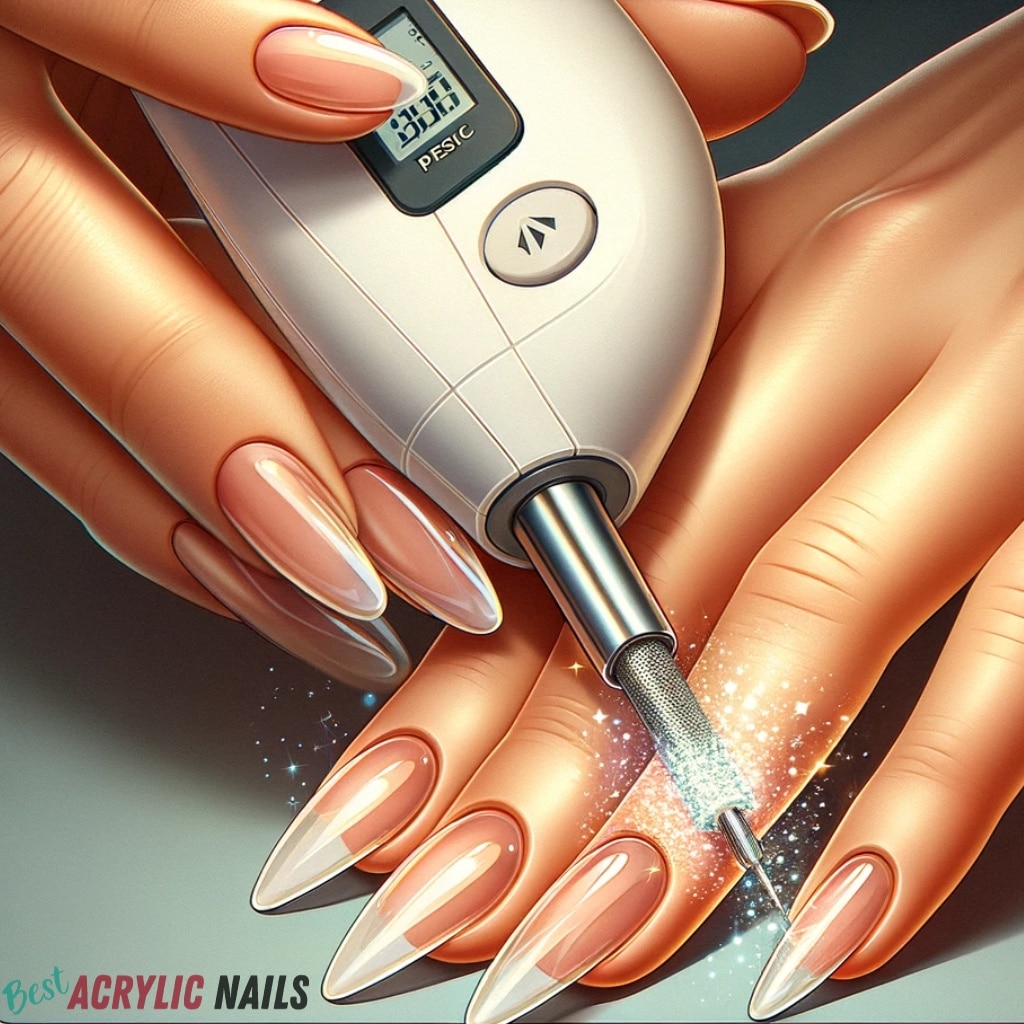
The electric nail file – it’s the high-tech gadget in your nail maintenance arsenal. It’s like swapping a horse-drawn carriage for a sports car in a period drama.
- Hands washed? Check.
- Choose a fine-grit file and a low speed. We’re going for a gentle purr, not a full-throttle roar.
- File under each nail with the grace of a ballerina, side to side, keeping it light and airy.
- Dust off the debris like you’re an archaeologist uncovering ancient treasures.
- Finish with moisturiser, because every good nail story ends with moisture.
And there you have it, the three musketeers of acrylic nail cleaning: the nail brush, the cuticle pusher, and the electric nail file. Use them wisely, and you’ll have nails that not only look like they belong in a glossy magazine but also feel as healthy as they look.
C. Keeping It Clean: Tips and Precautions for Acrylic Nail Care
1. The Essentials of Acrylic Nail Hygiene
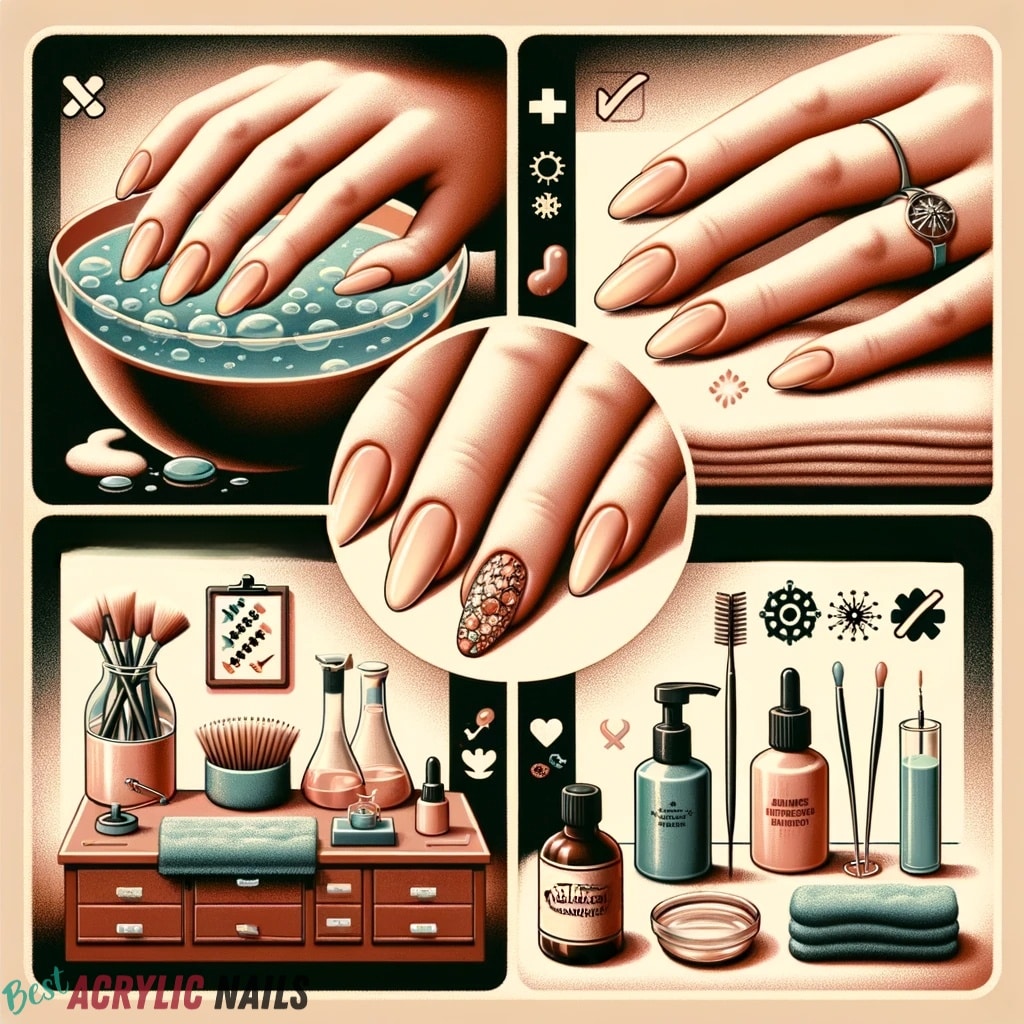
It’s no secret that acrylic nails require some TLC to maintain their luster and health. Understanding that these fashionable enhancements are porous means recognising their tendency to trap dirt, bacteria, and other unwelcome guests.
It’s not just about aesthetics – neglecting proper cleaning can lead to odours, infections, and damage to the nail itself. Therefore, rolling up our sleeves and diving into a weekly cleaning routine is more than a beauty ritual; it’s a barrier against potential harm.
2. Tools of the Trade: Gentle and Effective
When it comes to the nitty-gritty of nail care, the right tools make all the difference. The keyword here is ‘gentle.’
We’re talking non-abrasive tools and products that clean without causing a fuss or harm. Imagine a soft-bristled brush, warm water, and antibacterial soap working in tandem – a trifecta that ensures a thorough yet careful clean under those acrylic shields. And don’t forget the cuticle oil post-cleanse; it’s the drink of hydration your natural nails yearn for.
3. Fungal Foes: Preventative Measures
Fungal infections are the arch-nemesis of nail care, but with the right strategies, they don’t stand a chance. Here’s a playbook to keep them at bay:
- Before the Battle: Clean hands are your first line of defence. Washing up before a cleaning session keeps those pesky bacteria and germs from even thinking about a takeover.
- The Right Armor: A soft-bristled brush is your weapon of choice. It’s tough on dirt but gentle on your nails, ensuring no allies (your skin and nails) are harmed in the process.
- Post-Cleanup Vigilance: Dry those nails well. Moisture is the enemy’s playground, and we’re not giving them any room to play.
- No Sharing in the Trenches: Your nail tools are yours and yours alone. Sharing might be caring, but in this case, it’s just risky.
- Anti-fungal Allies: Over-the-counter antifungal products can be powerful allies, creating an inhospitable environment for those unwelcome fungal fiends.
4. Salon Safeguards: Ensuring a Safe Haven
Even nail salons, our go-to spots for beauty and relaxation, come with their cautionary tales. To keep the experience both pleasing and safe:
- Eyes Wide Open: Choose salons that pride themselves on cleanliness and maintenance. Sterilised tools and adherence to hygiene practices should be as standard as the polish applied.
- Inquisitive Minds: Don’t hesitate to ask about their cleaning rituals. It’s your right to know how they handle their tools and whether they’re as committed to cleanliness as you are.
In conclusion, while the journey of maintaining spotless acrylic nails may have its challenges, it’s undoubtedly a rewarding one. Following these guidelines will ensure that your acrylics remain not just a style statement, but a testament to impeccable hygiene and care.
D. Conclusion: The Final Brushstroke on Acrylic Nail Care
It’s been quite the adventure, full of brushes and bristles, cuticle pushers, and even high-tech electric files. But at the heart of it all is a simple truth: clean acrylic nails are happy nails.
Remember, your nails are jewels, not tools. They’re the crown jewels of your hands, so treat them with the care and respect they deserve. Regular cleaning under your acrylics isn’t just about preserving the beauty on the outside; it’s about maintaining the health on the inside.
By embracing the tips and precautions we’ve discussed, you’re not just committing to a routine; you’re investing in the long-term health and beauty of your nails. And trust me, it shows. Not just in the sparkle of your acrylics, but in the confidence with which you wave, high-five, or simply go about your day.
So, here’s to clean, beautiful acrylic nails that stand the test of time and touch. Keep them clean, keep them bright, and they’ll keep you shining.
E. Frequently Asked Questions (FAQs)
Why are my under acrylics so dirty?
Accumulation of dirt and oils under acrylic nails may occur due to daily household activities. Regular cleaning is vital to prevent potential infections.
What brush should I use to clean under acrylic nails?
A brush with soft synthetic bristles and a flat tip is recommended for cleaning underneath the nails, such as a toothbrush, scrub brush, or dust brush.
How do I remove dirt from acrylic nails effectively?
Employ various strategies such as using a nail brush to scrub, soaking in soapy water, or utilising a cuticle pusher. You can find numerous tutorials on YouTube and Google for guidance.
What causes the brown stuff under my acrylic nails?
The brown residue could be fungal growth or a layer of hardened oil and dirt, often due to neglecting proper nail hygiene and care.
Can I use rubbing alcohol to clean under acrylic nails?
Yes, soaking your nails in isopropyl alcohol for 5-10 minutes can help remove dirt and grime effectively.
Is it safe to use a cotton swab to clean underneath acrylic nails?
Absolutely, you can wet your hands, apply antibacterial soap, and gently use a cotton swab to clean under the nails.
How can I prevent dirt from collecting under my acrylic nails?
Regular maintenance, avoiding dirty activities, keeping the nails hydrated, practicing good hygiene, and applying a topcoat underneath the nails can help prevent dirt accumulation.
How often should I clean under my acrylic nails?
It’s best to clean under acrylic nails at least once a week, or more frequently if you notice any buildup or lifting.
Can tea tree oil be used for cleaning under acrylic nails?
Tea tree oil, known for its antibacterial properties, can be used to gently scrub underneath the nails for a clean and healthy finish.
What’s the easiest way to clean under acrylic nails if I’m short on time?
Quickly scrubbing with a soft-bristled brush dipped in warm, soapy water can be an effective and swift method to clean underneath the nails.
